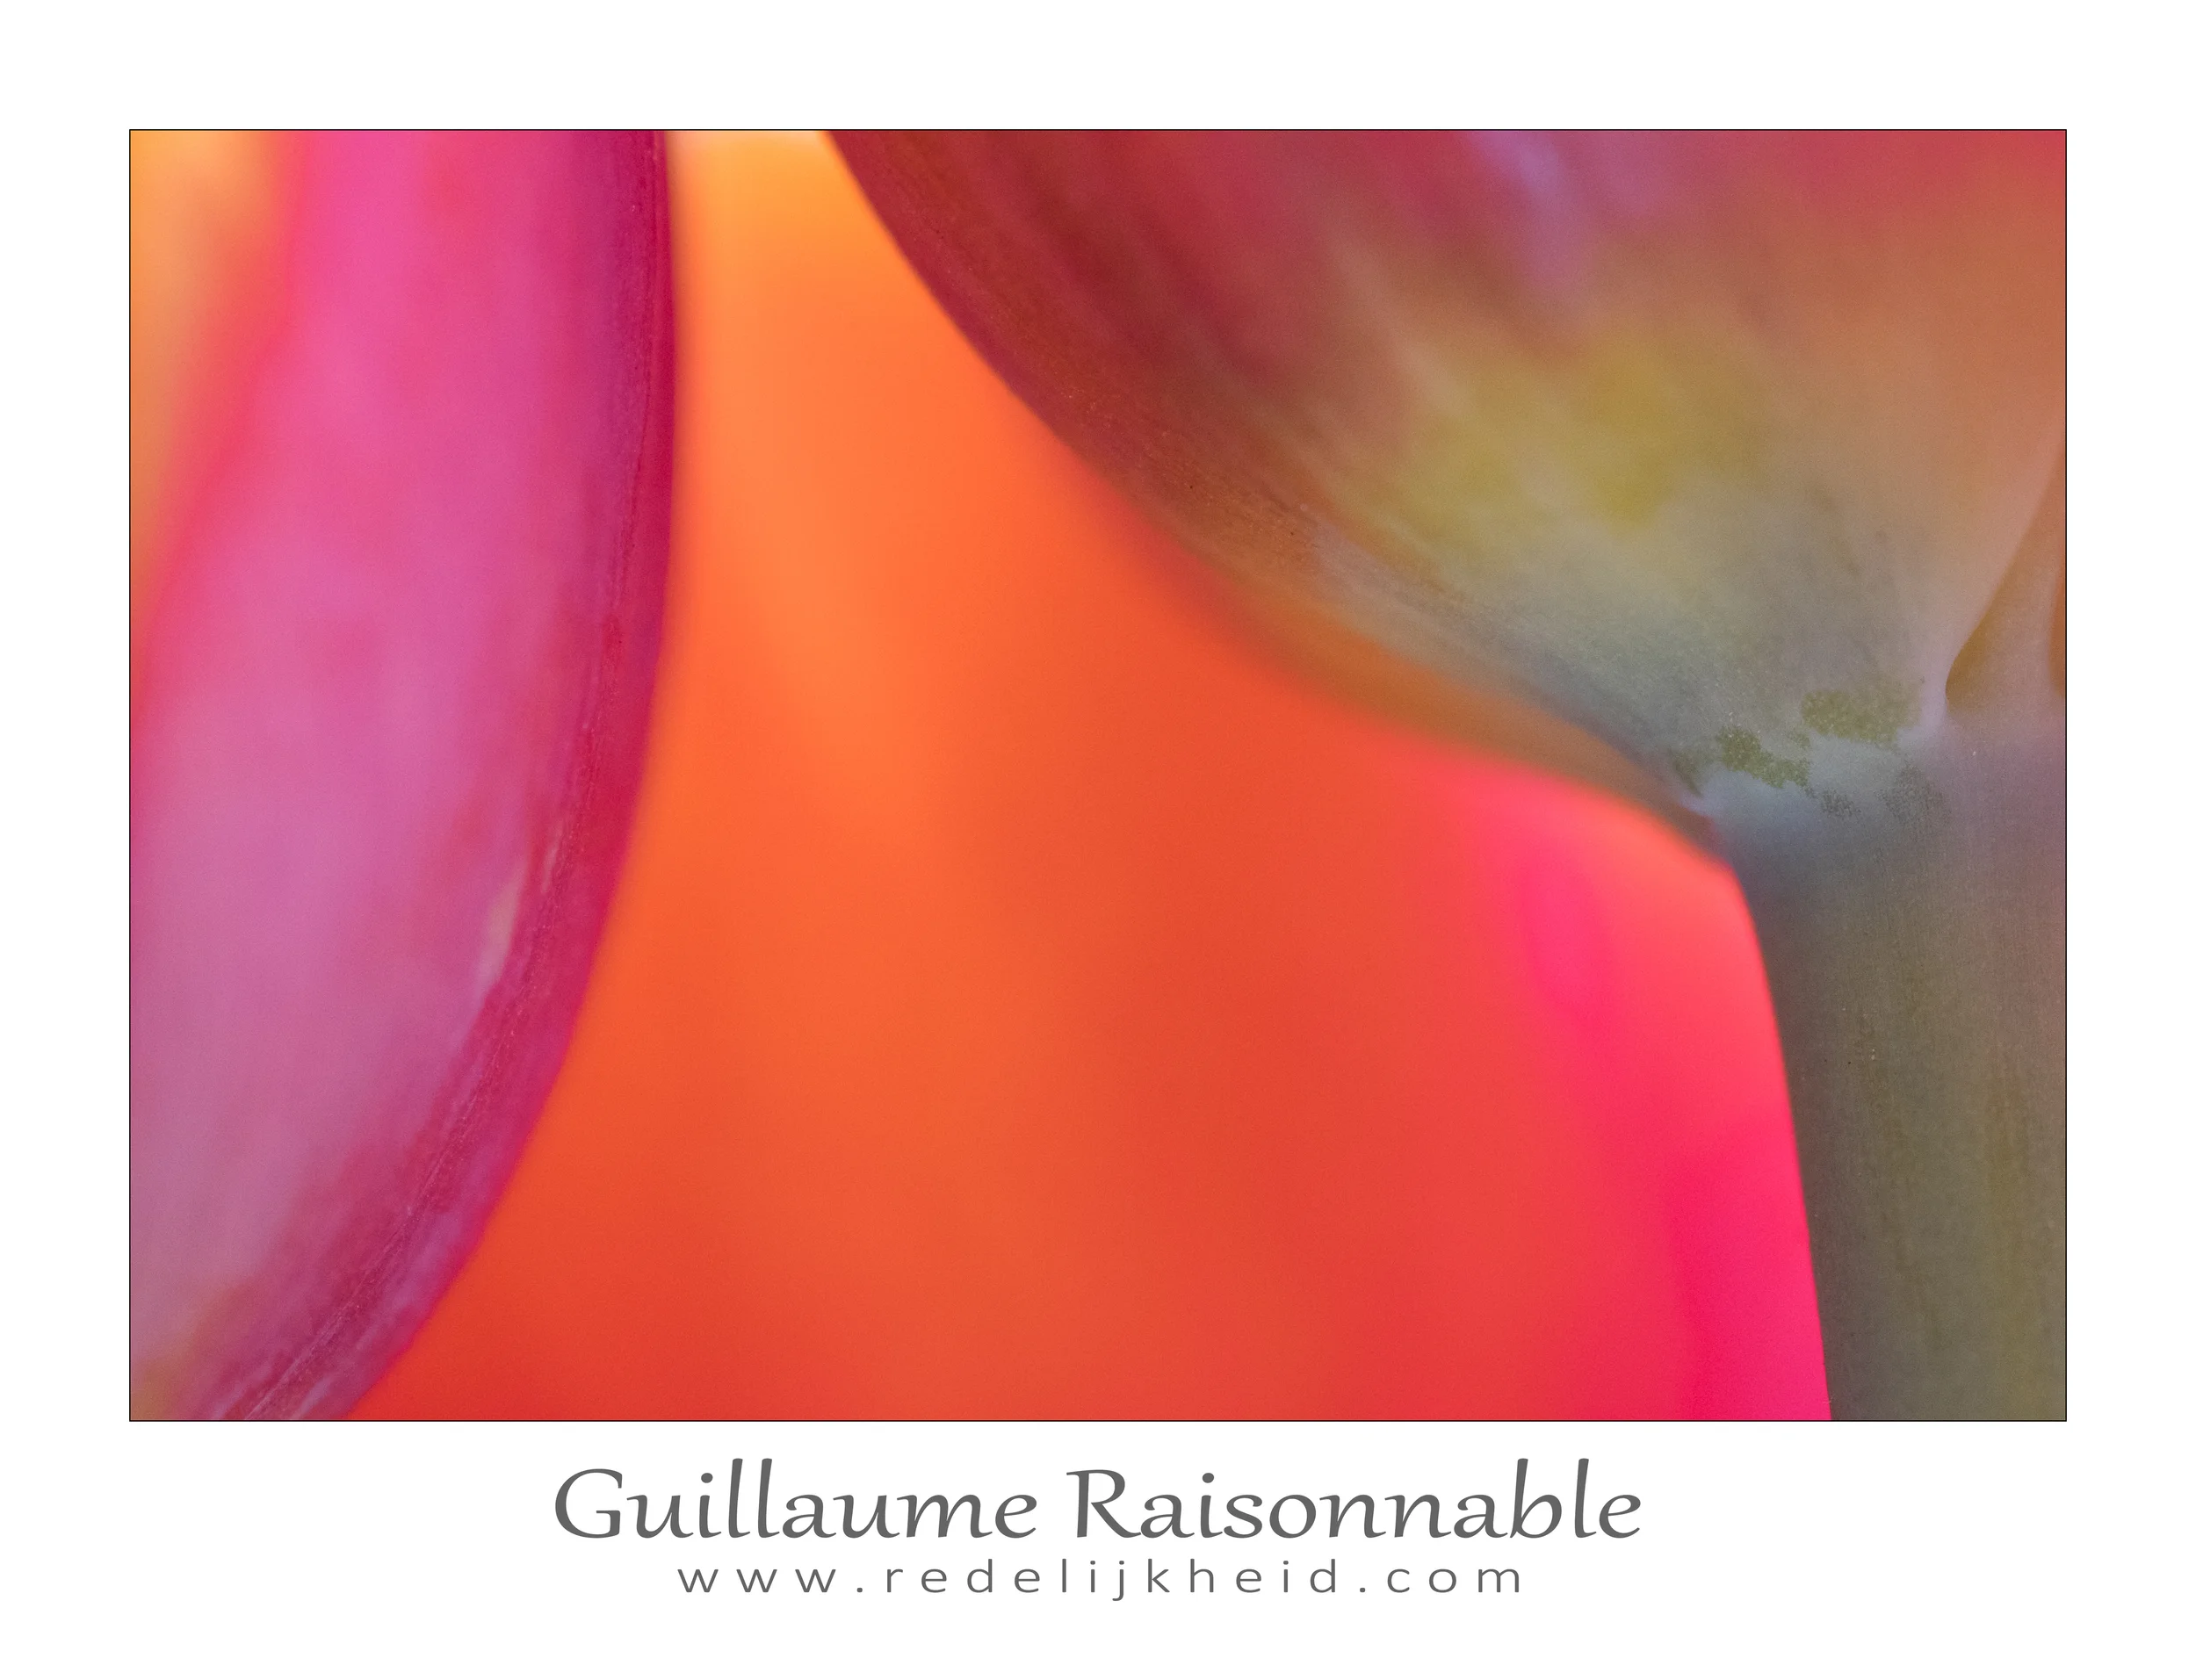
Usually, I export my photos from Adobe Lightroom for print or for online display. The exports for online use (SmugMug, Flickr, or several online forums contain a watermark in the bottom right corner. Something that can be done by using the export module in Adobe Lightroom.
I wrote an article a while back on how to do this using Photoshop actions, but this time I want to use a different approach. One without (or at least minimizing) the use of Adobe Photoshop, and using the power of Adobe Lightroom (plugins).
Fine Art output example
When you export a photo with Adobe Lightroom, you have the option to manipulate the final result. These basic manipulations include:
- Export Location
- File Naming
- File Settings
- Image Sizing
- Output Sharpening
- Metadata
- Watermarking
- Post-Processing
To create the Fine Art output I use a Adobe Lightroom plugin called Mogrify (Donation-ware).
This plugin add several photo manipulation tools to the export menu. The ones I use are the Mogrify Outer Border and the Mogrify Graphical Watermarks options.
First I added a small dark border around the photo. The second border is much wider, and not the same on all sides. The bottom is a bit larger. The dimensions are relative to the shortest side of the photo. You can experiment with the percentages (or absolute values) as much as you like. These values seem to work for me at the moment.
The watermark is an image I created in Photoshop and which is imported, scaled and placed on the border. There are some settings you can use to adjust the placement by offsetting it horizontally or vertically.
Below are several results of the Adobe Lightroom export preset I made.
Note that you will probably need multiple export actions depending on the type / size of photo. The example is based on a landscape orientation. Portrait or panorama will probably need different values to create a pleasing outcome. Just experiment with the values and options.
Anyway, enough experimenting material for a rainy weekend.


